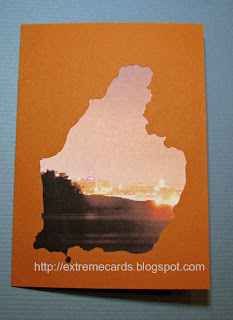
This note card project is probably just crazy talk if you don't have a cutting machine. Okay, fine, there are some of you out there who are wizards with your craft knives, but don't say I didn't warn you!
How to make a photo silhouette note card from a map vector file
Select photos to frame in the silhouettes. I like scenery photos, but it's up to you.
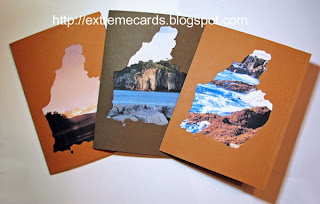
Download a vector outline map of your choice from Digital Vector Maps. If you want to use someplace more obscure, you may have to do some digging. I got lucky and found an editable PDF of my little island in Maine.
However, for this tutorial I used a Maine map from Digital Vector.
Open the map in a vector editing program. I used Inkscape (it's free!).
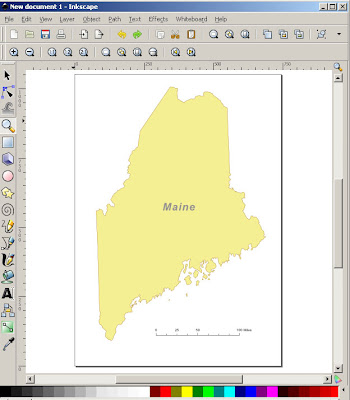
Select the map and ungroup it. (Object/Ungroup)
Select and delete text.
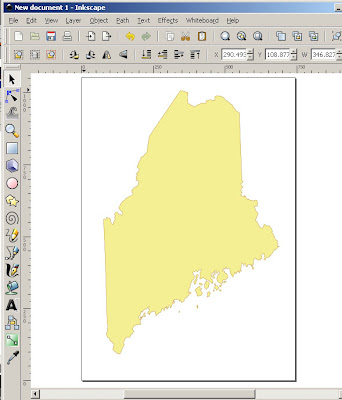
Optional: select map and delete the fill. (Object/Fill and Stroke)
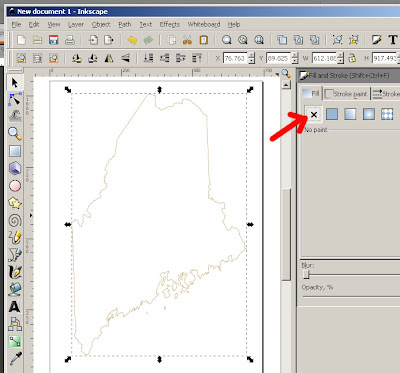
Select map outline with the node tool and simplify. If your map has several paths making up the outline just select and simplify them one path at a time. (Path/Simplify)
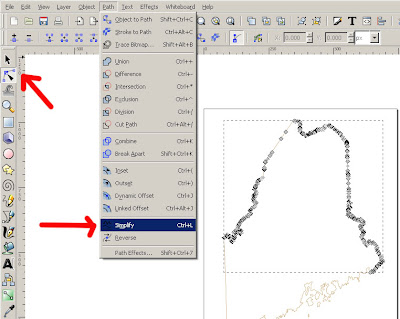
Select and delete any small details that you don't want to cut (like islands).
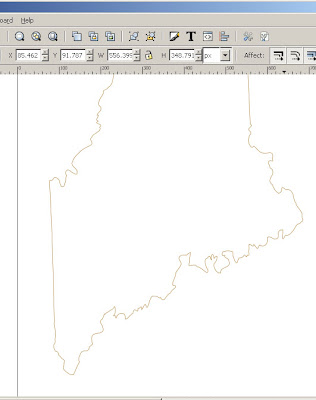
Select entire map and re size as desired. I cut two per page making my cards 4.25" x 5.5".
Save As a file type that works with your cutting machine.
Open the file in your cutting software and cut.
Re size your photo to fit behind the cutout. Print and cut out your photo.
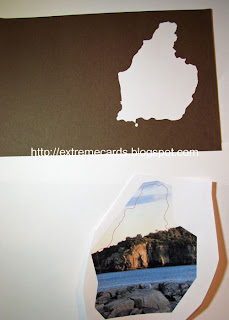
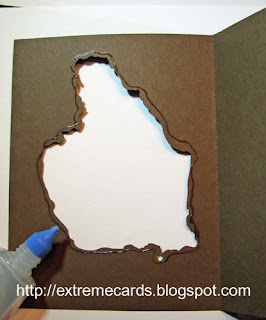
Glue the photo to the inside of the card, showing through the cut out.
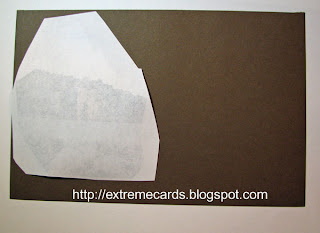
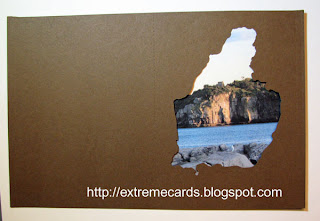
Cover the back of the photo (inside the card) with a rectangle of decorative paper.