No glue or tape required!

This pop up present card was inspired by a Sizzix die design by Karen Burniston. I was intrigued by her use of tabs to fasten most of the pieces together. I decided to go one step further and eliminate all the adhesive in the design.
The Sizzix die is available here. Excellent assembly directions, too.
I started by drawing out a design similar to the die cut. If you'd like to try it, download the PDF, or DXF. For SVG you can choose from Craig's template, or Heather's.

Download the modified design with all tabs, no glue or tape, in PDF or DXF. No SVG. I don't do SVG well (unlike Craig and Heather).

How to assemble the adhesive-free pop up present
Cut out pieces along black lines, score along red lines. Cut slots.
Refer to Heather's directions. Assembling this model differs only in the attachment of the ribbon ends and the attachment of the box to the card.

Fold all the tab "wings" in.
Attach one side of the box top to the box sides by sliding the tabs through one set of slots
.
Slide bow pieces into slots on tops. Slide ribbon ends into slots. (Heather's directions use glue to attach ribbon ends.)

Attach the other side of the box top to the box sides.

Slot the box sides together.


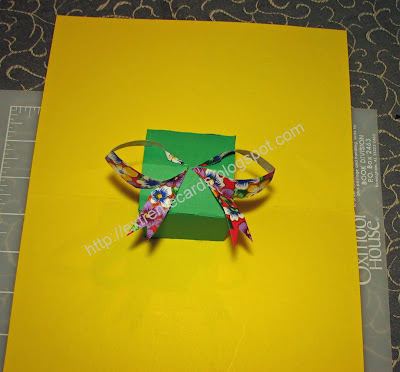
Attach the completed box to the card.
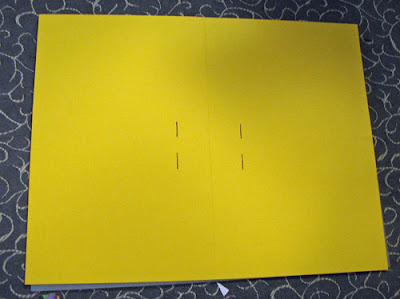
Align the fold of the base card slot template and the fold of your card. Cut slots through your card.


Slide the bottom tabs of the present through the card base and unfold the tab wings.

Back side looks like this.

Partially open.

Fully open.

Extreme Cards and Papercrafting: pop up cards, movable and mechanical cards, digital crafts and unusual papercrafts.

This pop up present card was inspired by a Sizzix die design by Karen Burniston. I was intrigued by her use of tabs to fasten most of the pieces together. I decided to go one step further and eliminate all the adhesive in the design.
The Sizzix die is available here. Excellent assembly directions, too.
I started by drawing out a design similar to the die cut. If you'd like to try it, download the PDF, or DXF. For SVG you can choose from Craig's template, or Heather's.

Download the modified design with all tabs, no glue or tape, in PDF or DXF. No SVG. I don't do SVG well (unlike Craig and Heather).

How to assemble the adhesive-free pop up present
Cut out pieces along black lines, score along red lines. Cut slots.
Refer to Heather's directions. Assembling this model differs only in the attachment of the ribbon ends and the attachment of the box to the card.

Fold all the tab "wings" in.
Attach one side of the box top to the box sides by sliding the tabs through one set of slots
.
Slide bow pieces into slots on tops. Slide ribbon ends into slots. (Heather's directions use glue to attach ribbon ends.)

Attach the other side of the box top to the box sides.

Slot the box sides together.


Attach the completed box to the card.
Align the fold of the base card slot template and the fold of your card. Cut slots through your card.


Slide the bottom tabs of the present through the card base and unfold the tab wings.

Back side looks like this.

Partially open.

Fully open.

Extreme Cards and Papercrafting: pop up cards, movable and mechanical cards, digital crafts and unusual papercrafts.