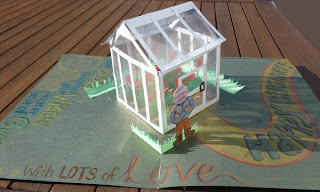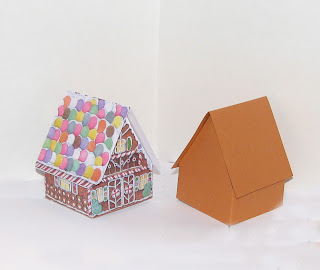
This gingerbread house pop up is a variation of the 45° box.
Jan Brett has a terrific printable for her gingerbread baby house. Quite a few years ago I made a tabletop (full size) version, and I recently realized it would be easy enough to resize for a pop up card. In accordance with her site's terms of use I cannot distribute her artwork from my site, but I can tell you how download the illustrations and drop them into the house template on your own computer.
Template
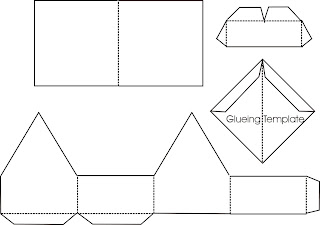
Template downloads for free; pay what you wish for the tutorial and to support this site. Suggested contribution for this project is $1.00.
The pieces are as follows: Roof piece at the top left (fold line is the center ridge line of the roof).
Roof brace on the top right. House rectangle on the bottom. Gluing template (labeled).
Right click the template and save. Open the template in a graphics software program (I use Photoshop Elements or CorelDraw). Resize the template to 8.5" x 11" if needed.
Drop in gingerbread graphics
Go to the Gingerbread Baby House site. Scroll to the bottom.
You will see three thumbnails: roof, house end, house side.
Click on the roof thumbnail to open the larger size picture. Right click on the large picture. Copy.
Paste the picture on top of the template in your open graphics program. Turn the roof piece 90° clockwise. Drag the corners of the picture until it fits on the left half of the roof template.
Duplicate the roof piece, flip it horizontally, and line it up with the right half of the roof template. The candy canes should be on the far left and right of the roof piece.
Now open the larger size picture of the house end. Right click, copy, paste on top of template, resize. Duplicate and paste on top of the second house end.
Do the same with the house sides.
Print and cut out pieces.
Assemble house
Score and fold the house strip along dotted lines, spread glue on the small end tab and glue together into a rectangular open box.
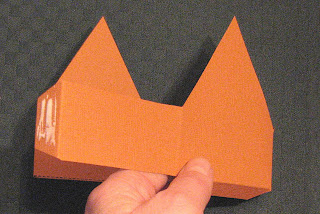
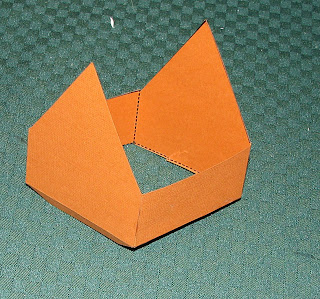
Prepare roof pieces
Fold the roof piece in half.
Cut out the roof brace. Hold the brace so that the long side with the tabs is up.
Fold the left top tab away from you.
Fold the left side tab toward you. Fold the right top tab toward you.
Fold the right side tab away from you. This keeps the top tabs from bumping into the side tabs.
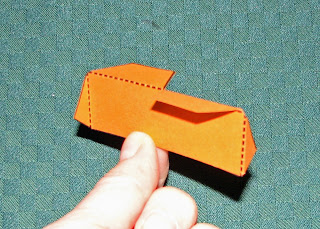
Attach roof to house
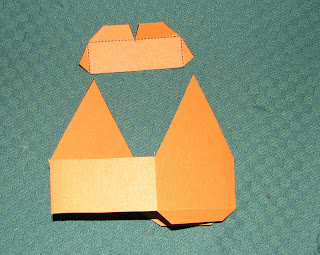
Spread glue on the outside of each roof brace side tab. Glue the side tabs to the inside of each peak of each house end.
Line up the angled edge of the triangle shaped tab with the angle of the roof. The straight edge of the tab lies on the (imaginary) center line of the house end, and the point of the tab lies exactly on the point of the house end. If you have glued the brace correctly the house opens up as before, and has a center beam from roof peak to roof peak. Let dry.
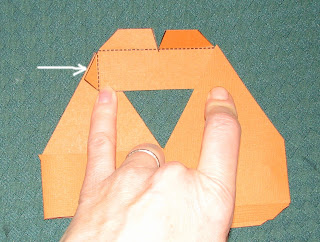
Unfold roof piece. Glue roof brace tabs to roof, lining up fold line of roof brace tabs with fold line of roof.
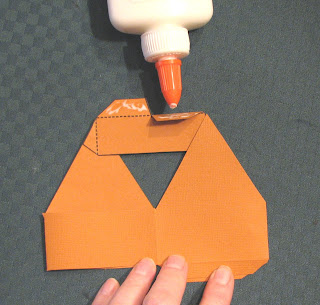
The left hand roof tab is folded down and behind the brace piece in the next picture.
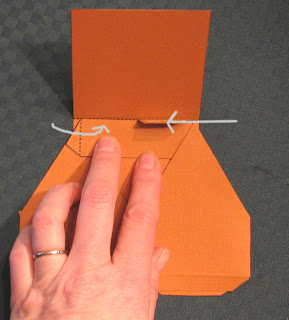
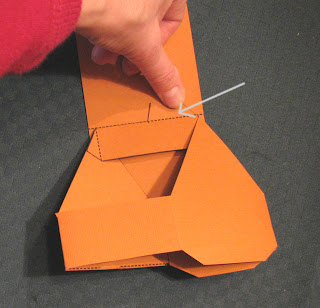
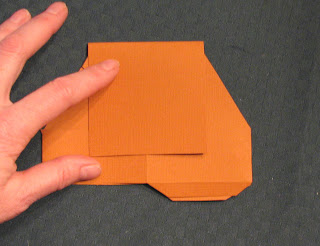
Holding the roof partly closed, push on the bottom of the house to really jam the brace tabs into the crease of the roof.
Prepare base card
Fold the gluing template on the diagonal dotted line.
Lay the gluing template on the card, aligning folds, and decide the placement of the house.
With the house flattened, lay it along the edge of the gluing template as shown. (Yes, my template is big and purple.)
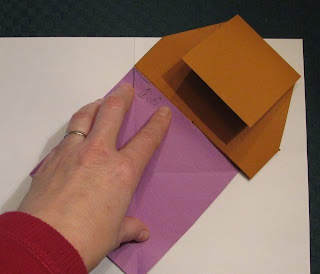
Check to see if the top corner of the house sticks out above the top of the card. If it does, slide the gluing template and house down on the card a bit.
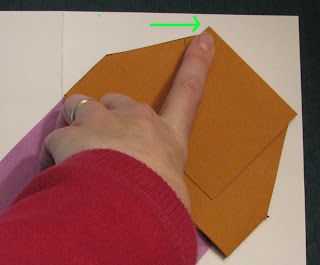
Lightly pencil guidelines along the top edges of gluing template. You only need to draw the top angle where the tabs will be glued, not the entire square.
Spread glue on one tab, line up fold line of tab with penciled guideline on base and glue into place.
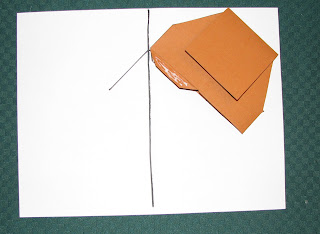
Close card and let the other tab "find its own place". It should line up with your other penciled guideline.
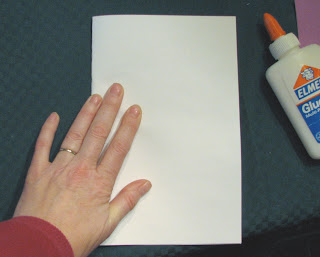
Put a weight on it and allow to dry completely before opening.
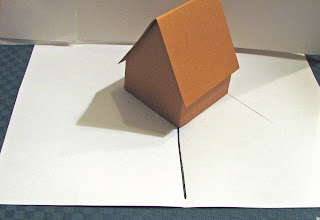
The graphics for this one came from Cathe Holden. (I flipped the template horizontally and stretched her graphics a little bit.)

Here's one made by MariLynn, posted on Splitcoast Stampers. She did her own house decorations. Don't you love the sticky dots on the roof that look like Necco wafers?

A cottage version from The Narrow Road.

Check out the video showing how to put it together (yay!). Notice the idea of curling under the edges of the roof a tiny bit to keep them from bumping into the card.
There's a downloadable template, too.
Kara converted it to WPC and shares it on her blog: Whisk, Paper, Silver.
Rebeccah Jongkind made a glass house (greenhouse).
