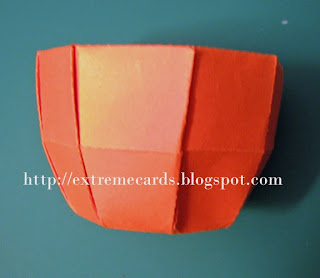
Last week I made this in red as an apple box. In orange, it makes a pumpkin box. You may remember the similar six sided acorn box, from last year.
How to construct a pleated, eight sided round box with a lid
Make it!
Apple Box
Files download for free; pay what you wish for the tutorial and to support this site. Suggested contribution for this project is $1.99.
Download cutting files (DXF, Silhouette Studio, PDF). Cut on black lines, score on red and green lines.
The base and lid are constructed the same way.

Crease all score lines. Mountain fold green lines, valley fold red lines.


Working from the inside of the box, fold all creases in the direction that the top tabs are pointing. (To the right).

Flip down one tabbed top section (shown in the photo below), then fold it down again. Hold this in place.

Fold down the next tab section to the right--twice--on top of it. Glue this section down, securing the tab from the section that was to its left. Paperclip or clothes pin in place.

Continue around the rim of the box until you get to the first tab. Slightly lift that first section, stick some glue under there and slide the last tab into the glue.


Glue the stem pieces back to back. Do not glue the bottom tabs. Slide the stem tabs into the slot on the lid, spread apart, and glue to the inside of the lid.

Extreme Cards and Papercrafting: pop up cards, movable and mechanical cards, digital crafts and unusual papercrafts.