A reader alerted me to the fact that apparently I never posted a tutorial and templates for the solid sliceform pumpkin I showed way back in 2008.
So here it is!
How to make a simple sliceform pumpkin
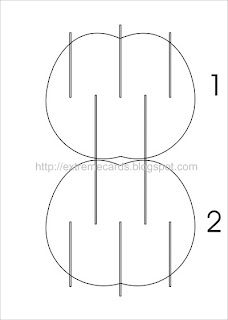
--Download template PDF or SVG1, SVG2, SVG3 or DXF1, DXF2, DXF3.
SCUT file, made by Sue W. (Yay Sue!).
Files download for free; contribute what you wish. Suggested amount for this design: $1.99.


Cut page 1 and page 3 once. Cut page 2 twice.
--Start assembling the slices.
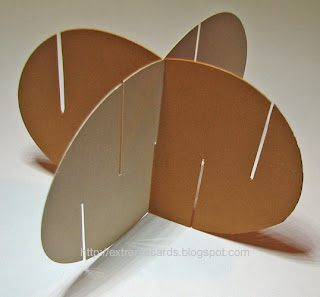
Slide pieces #1 (brown) and #2 (beige) together at their center slots.

Now work out from the center, adding pieces.
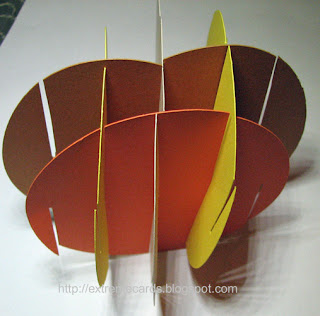
Add the two #4 pieces (yellow circles).
Add one piece #4 by sliding its center slot into the first empty side slot of piece #1.

Slide the second piece #4 into the other side slot of piece #1.

Add the two #3 pieces (orange circles) at 90° angles to the #4 pieces.
Slide the center slot of piece #3 onto the side slot of piece #2.

Join pieces #3 and #4 together.
You will have to twist and turn the slices gently to get the slots to line up and slide together.
First one side...

...then the other.

When both pieces are added it will look like this.

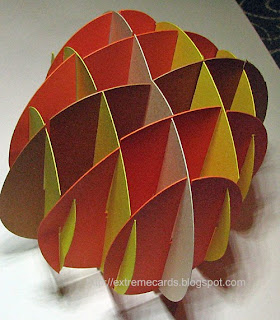
Finally, add pieces #5 and #6 in the last set of slots of pieces #1 and #2.
Attach both #5 pieces to piece #1.

Then to #3 pieces.


Attach #6 pieces to piece #2.

Then to #4 pieces.

--Add the stem.
Fold each stem piece in half.

Slide the #7 stem piece down against the #2 piece. The center bottom of the #7 stem slides into the slot of the #1 piece.

Check that one side of the stem is on either side of the #2 piece.

Slide the #8 stem into the #7 stem, opening it out slightly as it slides down so one side of the #8 piece is on either side of piece #1.

When the stem is in the right position dab a little glue under it to affix it to pieces #1 and #2.
Extreme Cards and Papercrafting: pop up cards, movable and mechanical cards, digital crafts and unusual papercrafts.