What crafty librarians do in their spare time....
The other day my co-worker was stuck in the middle of the wordless origami diagram for this mini-book. You know that place. You're cruising right along and then suddenly it seems like several steps are missing in the directions. Anyway, we finally worked it out, and over the last couple days I've been folding and unfolding little books, trying to simplify the process.
It's definitely easier to make with paper that's white on one side and patterned on the other.
Begin with a square piece of paper. Fold it in half, then in fourths. Do this both directions. When you are done the folds will divide the paper into 16 squares.
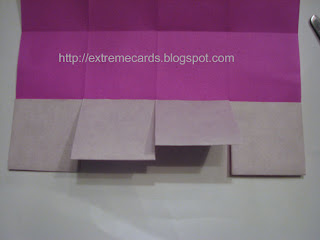
Folding on the creases you've made, flip the bottom quarter strip of the paper up and glue it, with glue stick, to the strip of squares above it.
Cut along the folds dividing these white squares. These will be your pages.
Turn the paper over. The pages should be closer to you and the uncut part away from you.
Fold down the top quarter strip of the paper along the crease line.
Crease the top corners diagonally and then unfold.
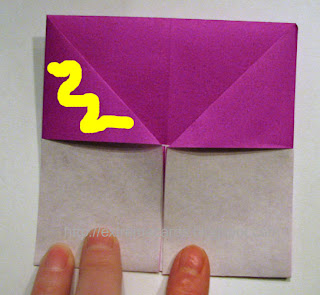
Grasp the left hand loose corner and pull it to the center of the paper. Do the same for the right hand loose corner.
Flatten the piece sticking up in the center, using the vertical creases already made.
Flip paper over.
Fold in the two sides.
Rub a bit of glue stick on the triangular fold on the left side.
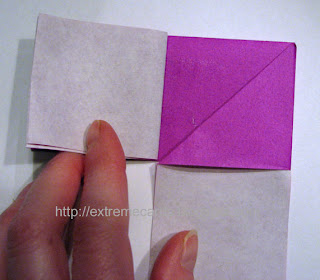
Grasp the left hand pages and pull them up and toward the right, opening the triangle fold at the top left.
Flatten.
Turn the pages to the left.
Dab a little glue on the right hand triangle. Grasp the right hand pages and pull them up and to the left, opening the right hand triangle. Flatten.
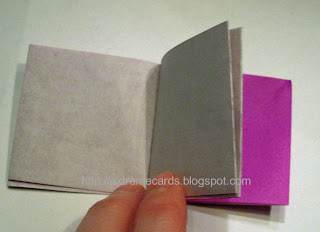
Turn these pages to the right.
Close the book and crease the spine well.
Try making really tiny books from sticky notes. I used the sticky part to glue the pages. The tricky part is setting in the creases without sticking the wrong parts together! (Position the sticky note with the glue horizontally across the bottom, glue side down. Crease the Post It in half horizontally by pulling the top of the sticky note down to the bottom edge. Flip the sticky note over and fold up the bottom to the center, gluing the "pages". Fold the top in half again, horizontally. Next crease the vertical folds; then cut the pages and finish as above.)
Extreme Cards and Papercrafting: pop up cards, movable and mechanical cards, digital crafts and unusual papercrafts.


