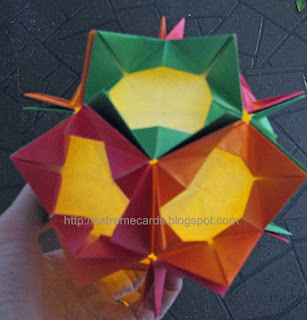
Impatien Ball design from Ornamental Origami: Exploring 3D Geometric Designs by Meenakshi Mukerji, instructions posted with permission.
Select 12 origami papers. I used 4 each of three different colors.
Folding the units
Precrease in half each way, and diagonally each way.
Turn over and fold points into center.
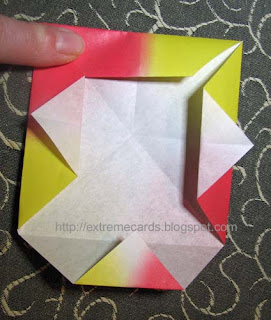
Unfold the top and bottom, then fold each point toward the center. Fold the side points toward the outside.
Fold down the top, fold up the bottom. The points will be inside these folds.
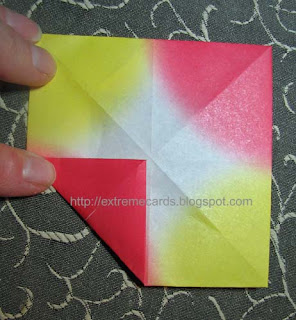
Turn over. Fold all four points to the center.
Unfold. Fold the points toward the center up to the creases you just made.
Fold all four sides toward the center. The points will be inside these folds.
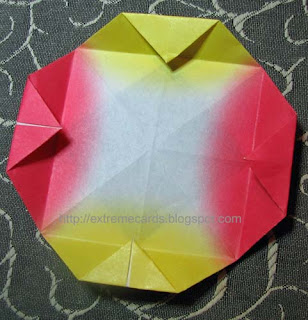
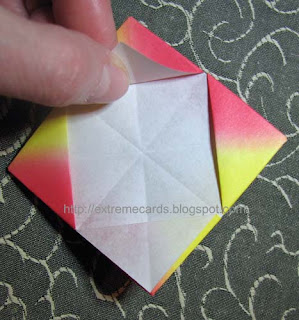
Flip it over and check that the back looks like this. Two opposite corners will have pockets, and the other two will have flaps. Here, I am holding a flap.
Flip piece over to front side. Crease and uncrease along the vertical and horizontal midlines.
Crease and uncrease each corner, folding them to the center.
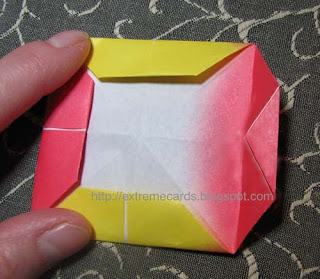
Pinch the center of each side so the V folds stand up.
Assembling the globe
Attach two pieces together by slipping the flap of one unit into the pocket of the other, wrong sides facing each other. I use a bit of gluestick on the flap to keep it from slipping out of the pocket.
Slide four units together in a cross. Make another cross from another four units and set it aside.
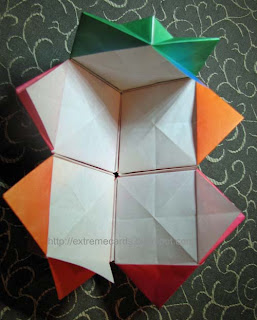
Folding the cross in half slightly, attach another unit (green) to the two halves at the end of the cross.
Here you see it from the wrong side (inside of the globe).
Here you see it from the right side (the outside of the globe).
Attach the other cross assembly to the remaining two sides of the single (green) unit.
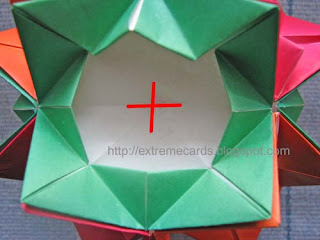
Inside view.
Outside view.
Rotate the globe 1/4 turn away from you and attach another single unit (green) to the next available sides of the two cross assemblies. Here it is pink on the left and orange on the right.
Here is the inside view.
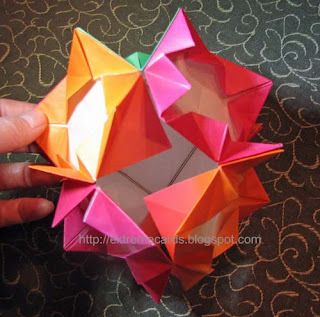
Attach the bottom half of the single (green) unit to the next open sides. (Orange on the left, pink on the right.)
Add a third single unit, and then the fourth single unit, in the same way. Sliding in the last two flaps can be frustrating. Just keep working at it!
If you have a battery operated tealight, you can slash one of the units and stick the "flame" through to light the globe.
Extreme Cards and Papercrafting: pop up cards, movable and mechanical cards, digital crafts and unusual papercrafts.


